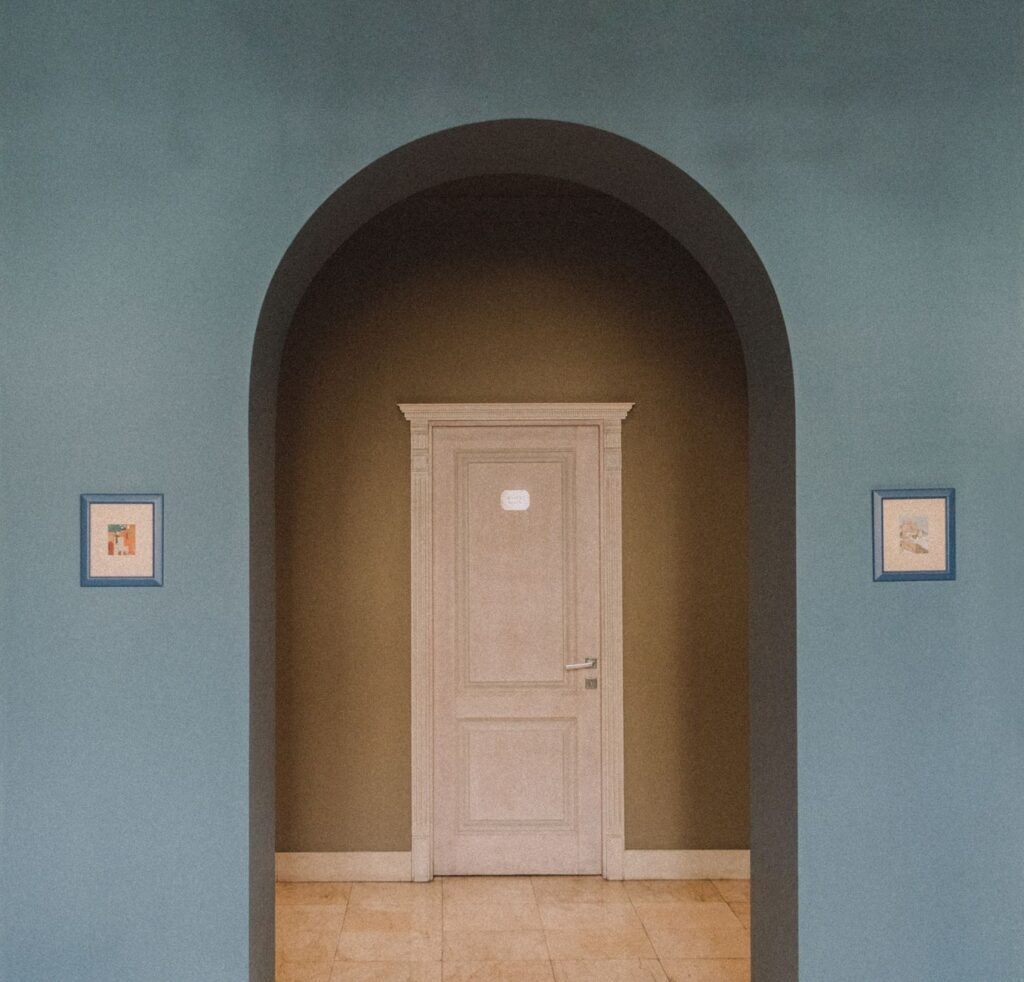
You’ve just finished refreshing your walls with a gorgeous new colour, but your tired old doors look out of place. Interior doors painting is one of the most cost-effective ways to transform your home’s look without breaking the bank. Whether you’re updating hollow-core doors in a rental or restoring beautiful timber doors in a Queenslander, a fresh coat of paint can make every room feel brand new.
What’s in this guide
- Why paint your interior doors
- Cost of interior doors painting
- Preparation steps for a professional finish
- Best paint types and finishes for interior doors
- Painting techniques for different door styles
- Common mistakes to avoid
- FAQ
Why paint your interior doors
Interior doors are often overlooked during renovations, yet they’re touched and noticed multiple times every day. Painting them offers remarkable benefits that go well beyond aesthetics.
Fresh paint protects the door surface from moisture, stains, and everyday wear. In Australian homes, where humidity levels can vary dramatically between seasons, this protective layer is particularly important for timber doors that can warp or crack without proper sealing.
A consistent door colour throughout your home creates visual flow and makes spaces feel larger and more cohesive. White and off-white remain the most popular choices for interior doors painting projects across Australia, as they complement virtually any wall colour and maintain that classic, clean look that appeals to buyers if you’re considering resale.
The return on investment is excellent. Professional painters typically charge $80–$150 per door for interior doors painting, while a DIY approach costs as little as $30–$60 per door in materials. Compare that to replacing doors entirely at $150–$800 each, and the value becomes crystal clear.
Cost of interior doors painting
Understanding the cost breakdown helps you budget effectively for your interior doors painting project. Prices vary depending on whether you hire professionals or tackle it yourself, the number of doors, and the condition of existing surfaces.
DIY cost breakdown
For a typical three-bedroom home with eight internal doors, expect to spend:
- Paint: $50–$120 (2–3 litres of quality interior paint)
- Primer: $30–$50 (if needed for raw timber or dramatic colour changes)
- Sandpaper and filler: $15–$25
- Brushes and rollers: $20–$40 (reusable for future projects)
- Drop sheets and tape: $15–$30
- Door removal tools: $0–$50 (if you don’t already own a screwdriver or drill)
Total DIY cost: approximately $240–$480 for eight doors, or $30–$60 per door.
Professional painting costs
Hiring a professional painter brings expertise and speed but increases costs considerably:
- Standard hollow-core door: $80–$120 per door
- Solid timber door: $120–$150 per door
- Panelled or detailed doors: $150–$200 per door
- French doors or glass-panelled: $180–$250 per door
These rates typically include light sanding, one coat of primer (if required), and two finish coats. Additional prep work like filling deep scratches or repairing damage will increase the quote. Most professional painters in metro areas charge slightly more than regional counterparts, with Sydney and Melbourne typically at the higher end of these ranges.
If you’re undertaking broader renovation work, you might also want to explore painting interior walls at the same time to coordinate colours and potentially negotiate better rates with your painter.
Preparation steps for a professional finish
Proper preparation makes the difference between a paint job that lasts a decade and one that chips within months. Interior doors painting success depends almost entirely on your prep work.
Remove doors and hardware
While you can paint doors in place, removing them gives you better access to all edges and eliminates drips. Number each door and its corresponding frame with masking tape so you can reinstall them in the correct locations.
Remove all hardware: handles, locks, hinges, and strike plates. Store screws in labelled bags. If you’re keeping existing hardware, clean it thoroughly or consider replacing tired brass or chrome fittings with modern matte black or brushed nickel options.
Clean thoroughly
Doors accumulate years of dust, grease, and grime, especially around handles. Use sugar soap (a widely available cleaner in Australian hardware stores) mixed according to package directions. Wipe down the entire door surface with a sponge, then rinse with clean water and allow to dry completely overnight.
Sand and fill
Light sanding with 180–220 grit sandpaper creates a key for the new paint to grip. You don’t need to remove all existing paint unless it’s badly chipped or flaking. Focus on:
- Smoothing any rough spots or raised grain
- Feathering edges of chipped paint
- Dulling glossy surfaces so primer adheres properly
Fill holes, dents, and scratches with interior wood filler. Let it dry according to the manufacturer’s instructions (usually 2–4 hours), then sand smooth. For deeper repairs, apply filler in layers rather than one thick application.
Wipe away all sanding dust with a tack cloth or slightly damp microfibre cloth. Even a thin layer of dust will create a rough final finish.
Prime if necessary
Not every interior doors painting project requires primer, but you’ll need it if:
- You’re painting raw or previously stained timber
- You’re making a dramatic colour change (dark to light)
- The existing paint is patchy or has visible repairs
- You’re using a lighter colour over a darker one
Use a water-based primer for standard hollow-core doors or an oil-based primer for timber doors with tannin staining (common in Australian hardwoods). According to Master Builders Australia, proper surface preparation including priming significantly extends the lifespan of interior paintwork.
Best paint types and finishes for interior doors
Choosing the right paint for interior doors painting affects both appearance and durability. Australian conditions require paints that can handle humidity variations and frequent handling.
Paint types
Water-based (acrylic) paints dominate the Australian market for good reason. They dry quickly, have minimal odour, clean up with water, and maintain colour well over time. Modern acrylic formulations are durable enough for high-traffic doors and resist yellowing better than older oil-based options.
Oil-based (enamel) paints still have their place, particularly for heritage homes or when you want an ultra-smooth, hard-wearing finish. They take longer to dry (often 24 hours between coats) and require mineral turpentine for cleanup, but they self-level beautifully and create that classic, glass-like finish.
Paint finishes
The sheen level dramatically affects both appearance and practicality:
- Gloss: Highly reflective and extremely durable. Shows every imperfection but wipes clean easily. Best for high-traffic homes with children or in humid areas like coastal properties.
- Semi-gloss: The most popular choice for interior doors painting in Australia. Offers good durability, resists stains, and hides minor surface flaws better than full gloss.
- Satin: Subtle sheen that’s elegant and contemporary. Less durable than semi-gloss, so better suited to low-traffic areas like bedroom doors.
- Matte: Rarely used for doors as it marks easily and can’t be scrubbed clean without damaging the finish.
For consistency throughout your home, match your door finish to your trim and skirting boards. If you’ve recently completed other painting work like interior painting projects, coordinating finishes creates a more polished look.
Colour selection
White remains the overwhelming favourite, but trends are shifting. Colours to consider:
- Crisp white: Classic, timeless, makes spaces feel larger
- Warm white or cream: Softer, works beautifully in heritage homes
- Light grey: Modern and forgiving of marks
- Black or charcoal: Dramatic statement in contemporary homes with high ceilings
- Match wall colour: Creates a seamless look in small spaces
Test paint samples on an inconspicuous area first. Colours look different on doors versus walls due to their vertical orientation and how light hits them.
Painting techniques for different door styles
Different door types require slightly different approaches for interior doors painting. Getting the technique right prevents runs, brush marks, and uneven coverage.
Flat hollow-core doors
These simple doors are the easiest to paint. Use a 100mm brush for edges and a small foam roller (10cm) for the flat faces. Work quickly to maintain a wet edge:
- Paint all four edges first while the door is horizontal on sawhorses
- Start at the top of one face and work down in vertical sections
- Roll with light, even pressure, overlapping each pass by 50%
- Tip off with a nearly dry brush in long, smooth strokes from top to bottom
- Allow to dry completely (check manufacturer’s instructions, usually 4–6 hours)
- Apply a second coat using the same technique
Panelled doors
Traditional panelled doors require more care to avoid paint buildup in details. Paint in this order for the best results:
- Panel insets (centre of each raised or recessed panel)
- Panel mouldings (edges around each panel)
- Vertical stiles (the vertical sections between panels)
- Horizontal rails (top, bottom, and middle cross-pieces)
- Door edges
Use a high-quality 50mm angled brush for detail work. Load the brush with paint but don’t overload it. Work paint into grooves and corners, then smooth it out before it starts to set. Check for drips every few minutes during the first 15 minutes and brush them out immediately.
Glass-panelled and French doors
Protect glass with painter’s tape applied carefully to the edge where glass meets timber. A 25mm brush gives you the control needed for tight corners.
Paint the glazing bars (timber between glass panes) first, being careful not to overload your brush near the glass. Then complete the frame and stiles. If you do get paint on glass, let it dry completely and scrape it off with a sharp razor blade rather than trying to wipe it while wet.
Application tips for all door types
- Paint in a well-ventilated area but avoid direct sunlight or strong breezes that cause uneven drying
- Maintain consistent room temperature (15–25°C is ideal for most paints)
- Don’t paint in high humidity; the paint will take much longer to dry and may not cure properly
- Two thin coats always outperform one thick coat
- Sand lightly with 320-grit paper between coats for an ultra-smooth finish (wipe dust away with tack cloth)
- Allow final coat to cure for 24–48 hours before reinstalling hardware
Common mistakes to avoid
Even experienced DIYers can stumble during interior doors painting. Avoid these frequent errors:
Skipping the cleaning step. Paint won’t adhere properly to greasy or dusty surfaces. That sugar soap wash isn’t optional – it’s essential for longevity.
Using cheap brushes or rollers. Budget tools shed bristles, leave marks, and make the job harder. Invest $20–$30 in a quality brush and you’ll use it for years. Poor tools are the fastest way to ruin an otherwise careful job.
Overloading the brush. Too much paint causes drips and runs. Dip only the bottom third of bristles, tap (don’t wipe) excess on the container edge, and apply in thin, even layers.
Painting in the wrong conditions. Melbourne’s unpredictable weather means you can’t always pick your painting day, but avoid painting when humidity exceeds 70% or temperatures drop below 10°C. Paint in these conditions may never cure properly, remaining tacky or developing a cloudy appearance.
Rushing between coats. Interior doors painting requires patience. If you recoat too soon, you’ll drag the partially dried first coat and create a textured mess. Wait the full recommended time, even if the surface feels dry to touch.
Reinstalling hardware too early. Handles and locks put pressure on painted surfaces. Even though paint may be touch-dry in hours, it needs days to fully cure. Reinstalling too soon leaves permanent imprints and smudges.
Forgetting to paint door edges. The top and bottom edges are often neglected but they’re crucial for sealing timber doors against moisture. A properly sealed door resists warping and extends the life of your paint job.
Ignoring ventilation. Even low-VOC water-based paints release some fumes. Work in a well-ventilated space, especially if you’re painting multiple doors. If you’re sensitive to paint fumes or working in a confined area, consider the same precautions you’d take for interior painting projects throughout your home.
FAQ
How long does interior doors painting take?
For a single door, expect 3–4 hours of active work spread over 2–3 days to allow for drying time. This includes removal, prep, two coats, and reinstallation. If you’re painting multiple doors, you can stagger the work to stay productive while earlier doors dry. Professional painters can often complete eight doors in a single long day thanks to experience and specialised equipment.
Can I paint doors without removing them?
Yes, but it’s significantly more challenging. You’ll need to protect flooring and surrounding walls carefully, work around hinges, and accept that the results may not be quite as crisp. Painting in place works better for simple hollow-core doors than detailed panelled doors. The bottom edge will be very difficult to paint properly if you leave the door hanging.
Should I use a brush or roller for interior doors painting?
Both. Use a small foam roller (10cm) for large flat surfaces to achieve a smooth, even finish quickly. Use a quality brush for edges, panels, and detail work where rollers can’t reach. The combination gives you speed on flat areas and precision on details. For glass-panelled or heavily detailed heritage doors, brushwork throughout may give better results.
Do I need to sand between coats?
Not always, but a light sand with 320-grit paper between coats removes any dust particles or minor imperfections and helps the next coat adhere. It’s optional for standard work but recommended if you’re aiming for a showroom-quality finish. Always remove sanding dust completely before applying the next coat.
What’s the best time of year for interior doors painting in Australia?
Spring and autumn offer ideal conditions in most Australian climates – moderate temperatures and lower humidity. Avoid painting during the height of summer humidity in tropical and coastal areas, or in the depths of winter in southern states when houses may not be adequately heated. According to Australian Bureau of Statistics housing data, renovation activity peaks in spring, so plan ahead if you’re hiring professionals during this busy season.
Transforming your interior doors with fresh paint is one of the most satisfying home improvements you can tackle. With proper preparation, quality materials, and attention to technique, your newly painted doors will look professionally finished and last for years. Whether you’re preparing your home for sale, coordinating with new wall colours, or simply refreshing tired surfaces, interior doors painting delivers remarkable impact for modest investment.